The stencil guide
Any design.
A stencil
in seconds.
Drag the handle. What you see on the right is the file you print — no tracing, no light box, no lost evening. This guide shows what the extractor is good at, where it needs your hand, and how to get the line onto skin.
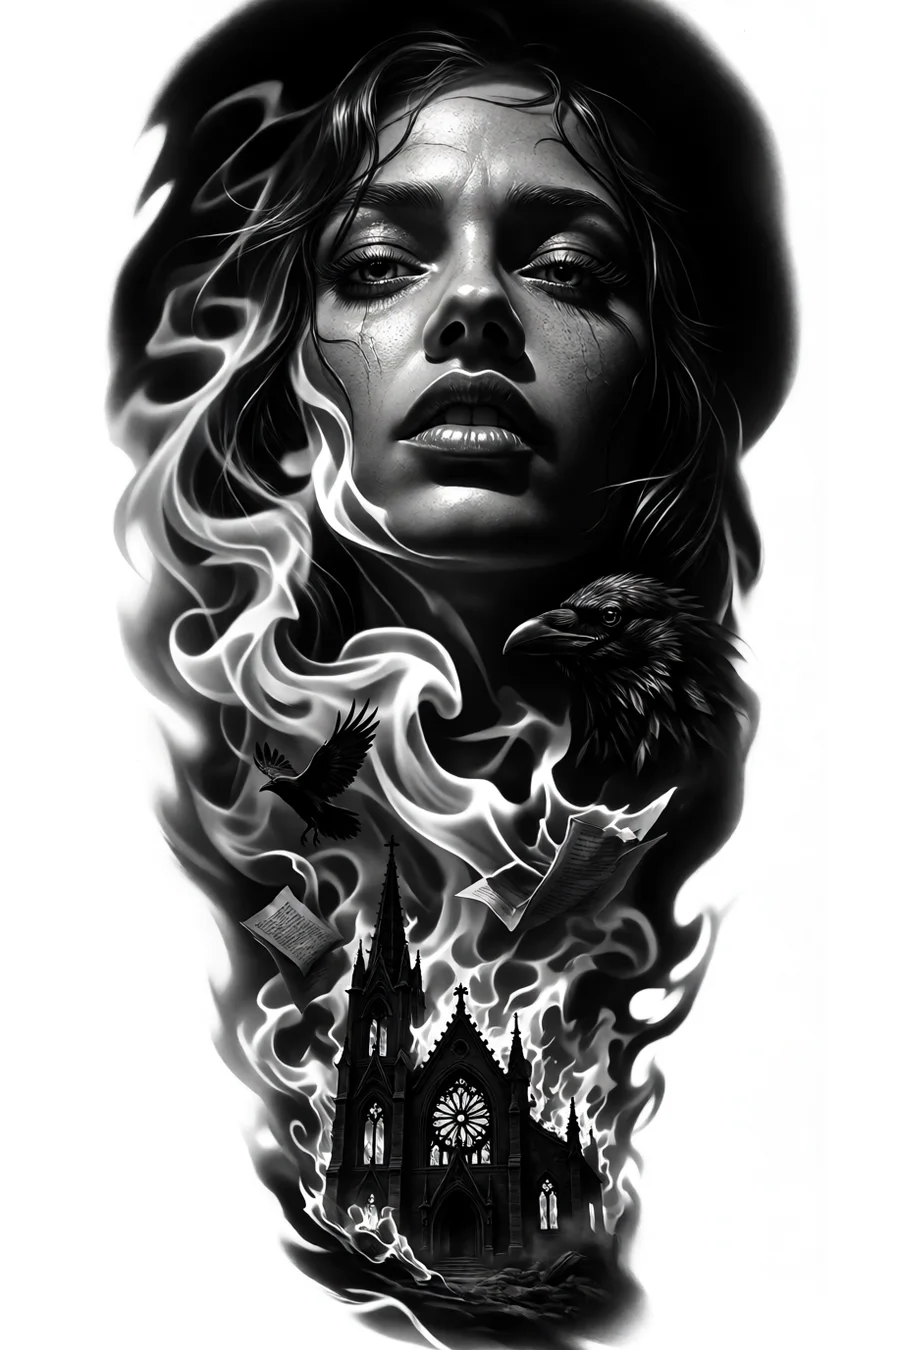
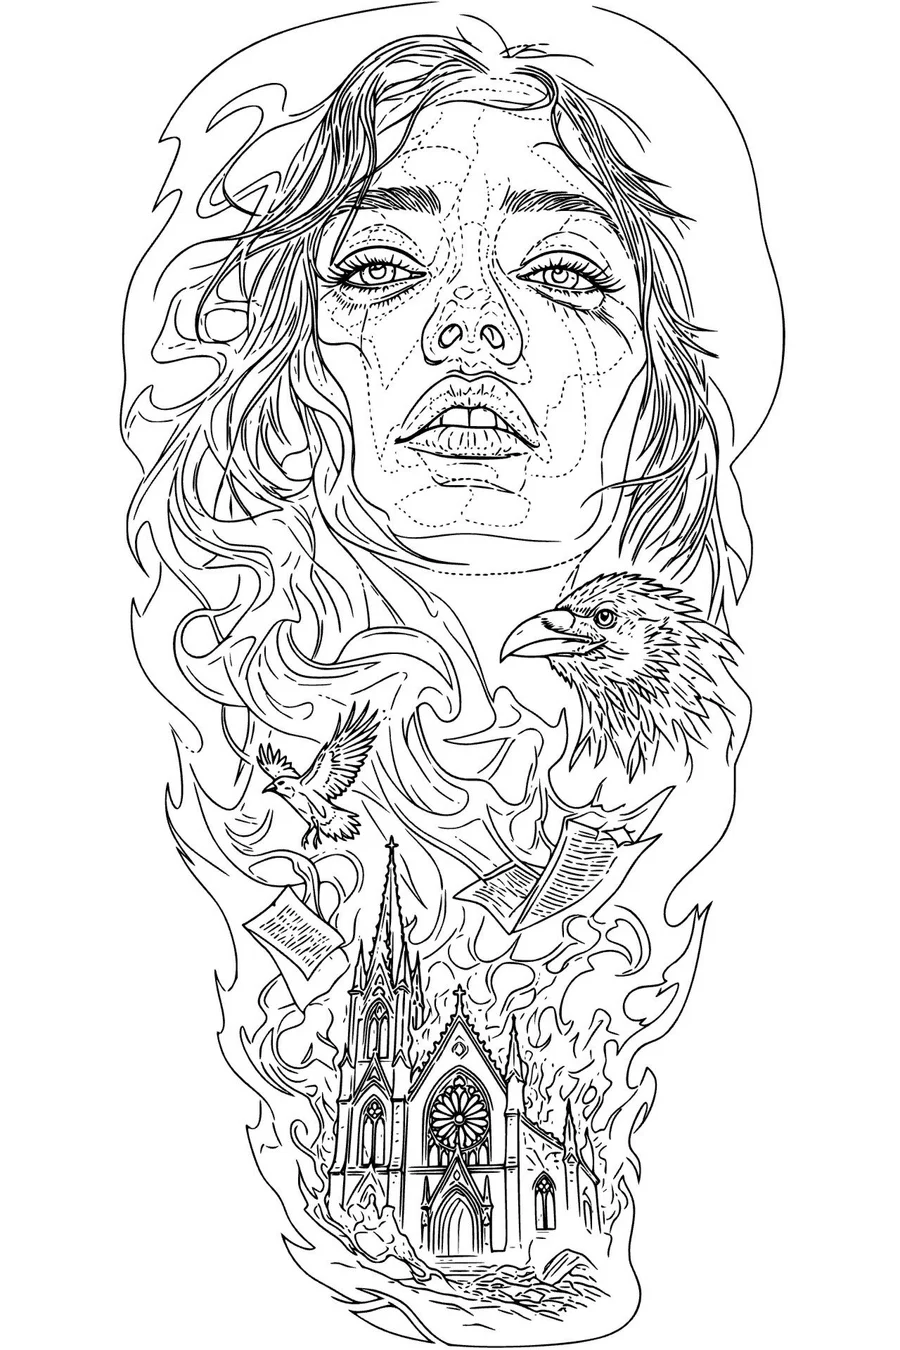
Drag the handle ↔
The comparison
Seven designs, seven stencils
Every pair below is a real extraction, nothing cleaned up by hand. Tap a thumbnail, then drag the handle across the design.
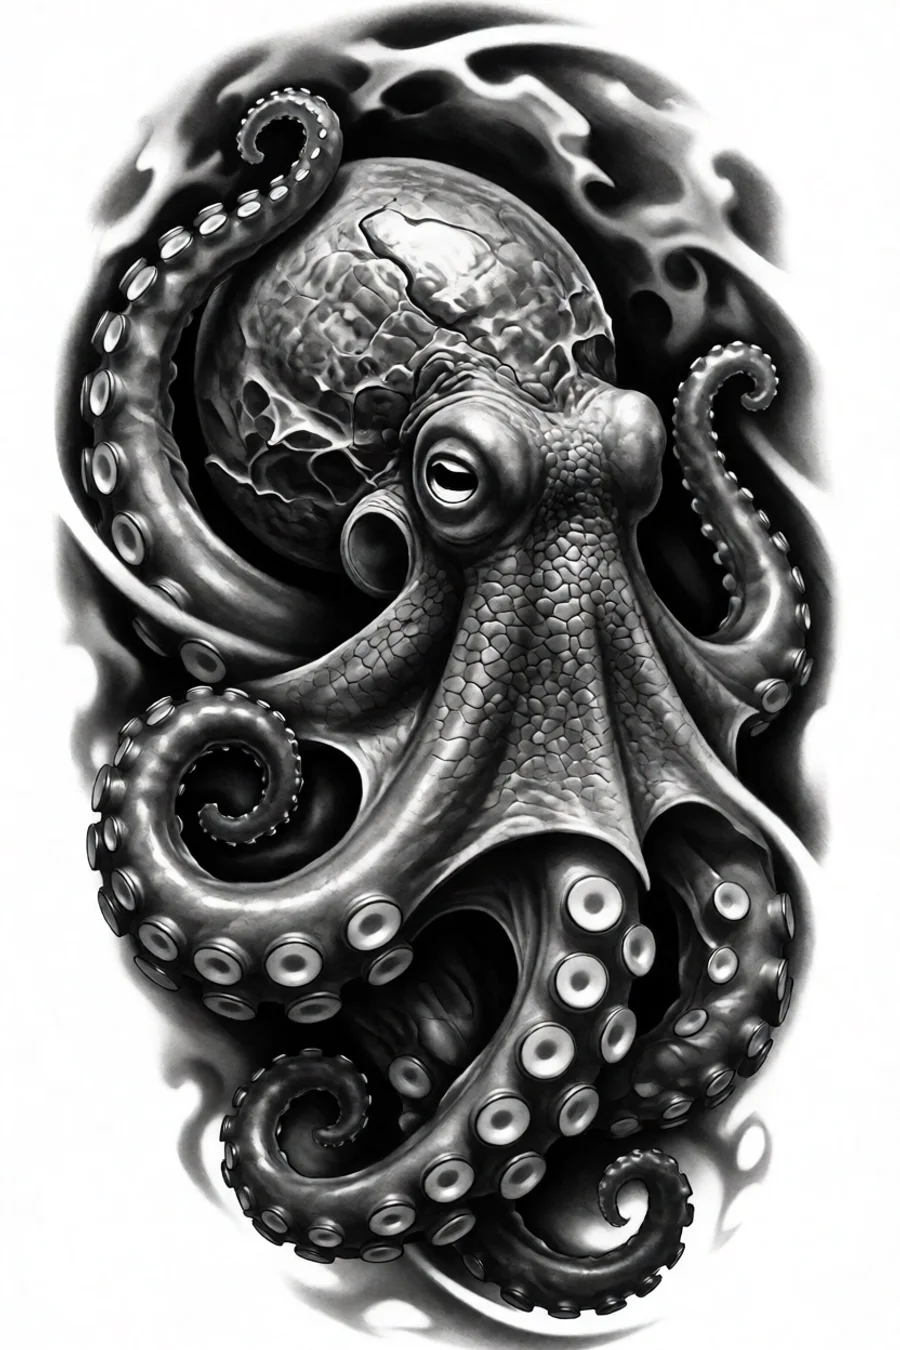
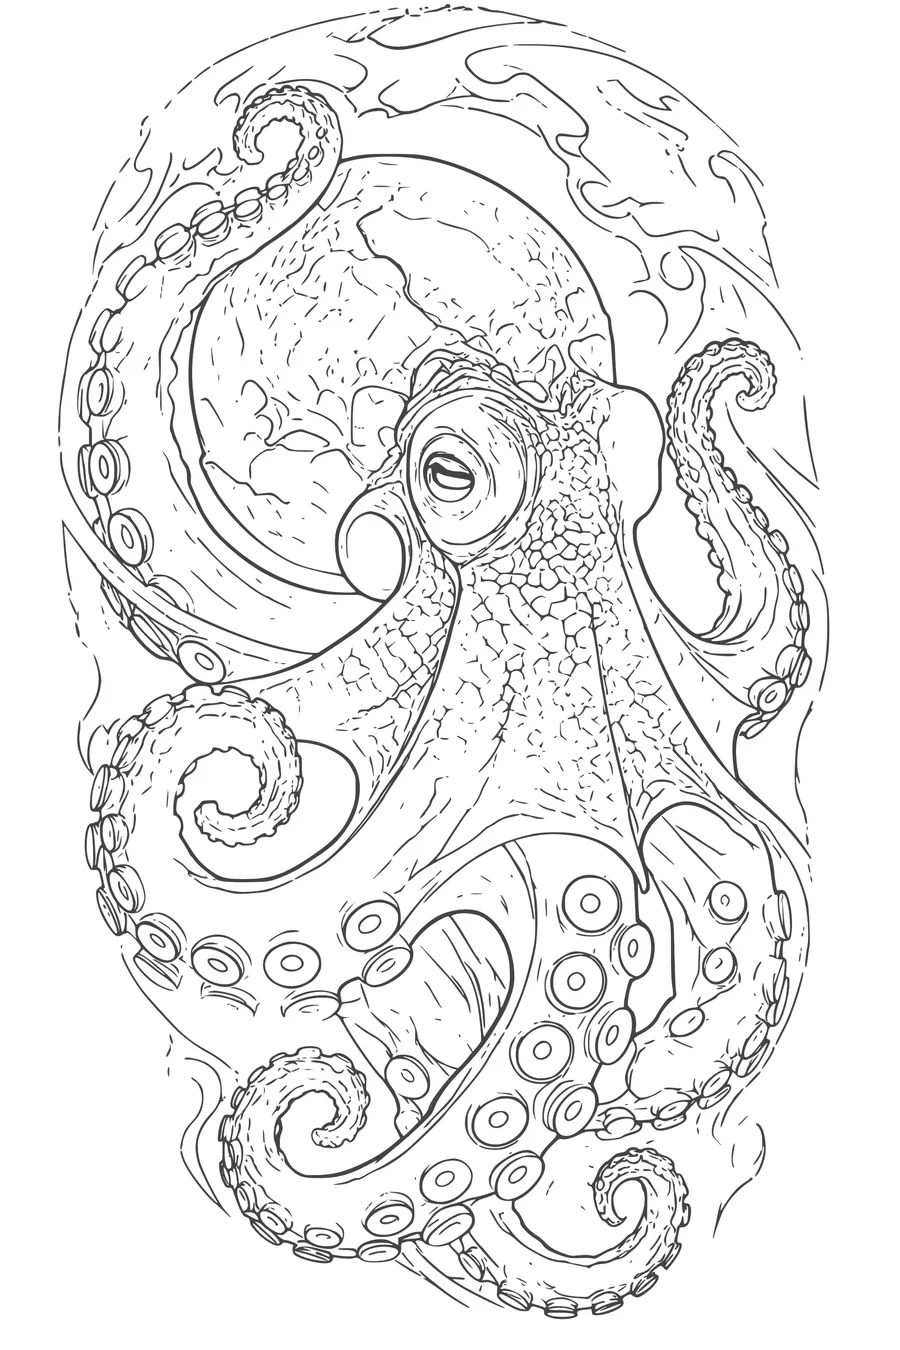
Octopus
Every sucker is a small closed circle, the tentacles keep their long twisting edges, and the mantle's texture turns into a fine net. A design this busy would take an evening to trace by hand; the stencil is complete in one pass.
Drag the handle ↔
The idea worth keeping
What survives the extraction
The extractor reads edges, not tone. Once you know what it keeps and what it lets go, you stop being surprised — and you know exactly what is left for your own hand.
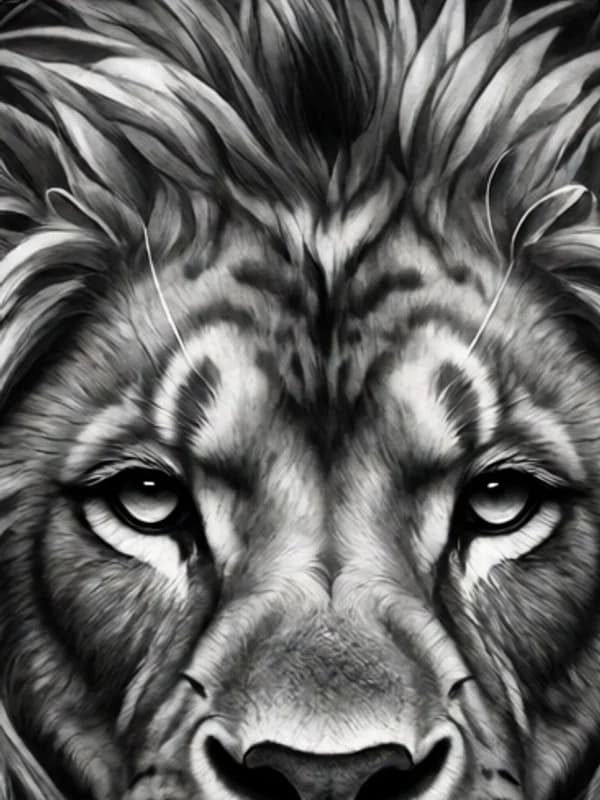
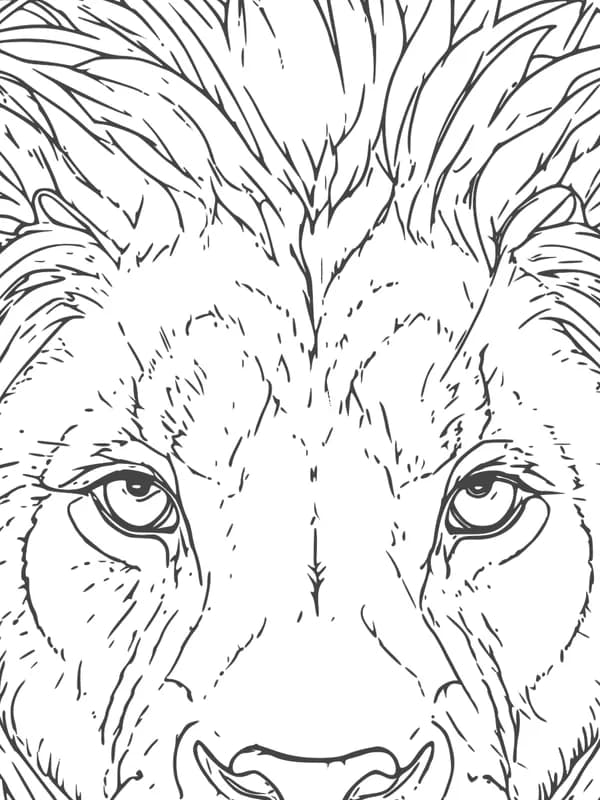
Kept
Edges become line — always
Wherever tone changes sharply, you get a line: the lion's brow, nose, the border of every tuft in the mane. Fur that was a gradient in the design comes back as directional hatching. The stencil is a map of every edge in the image.

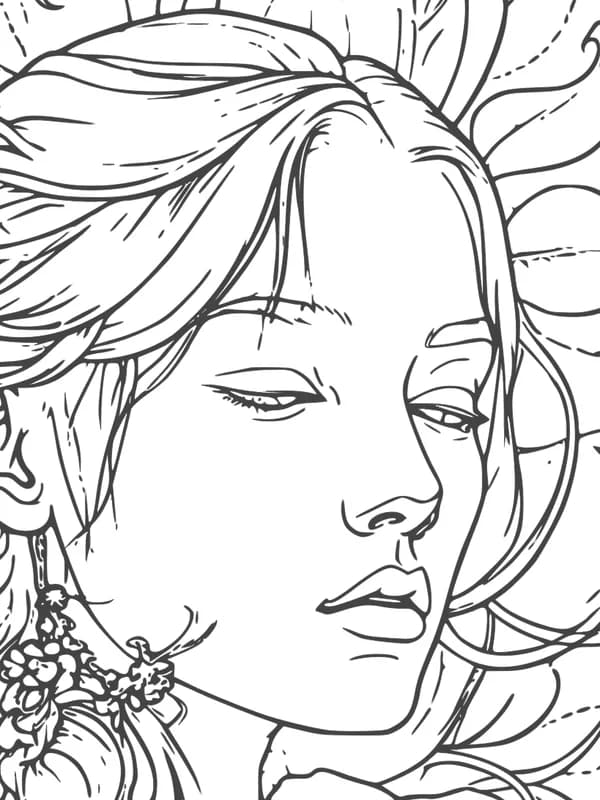
Dropped
Soft tone is let go
The soft shading on the portrait's cheek is not in the stencil, and neither is the grey wash behind her hair. Tone without an edge has nothing to trace. That is not a failure — it is the part you shade with the machine, and the stencil leaves it clean for you.
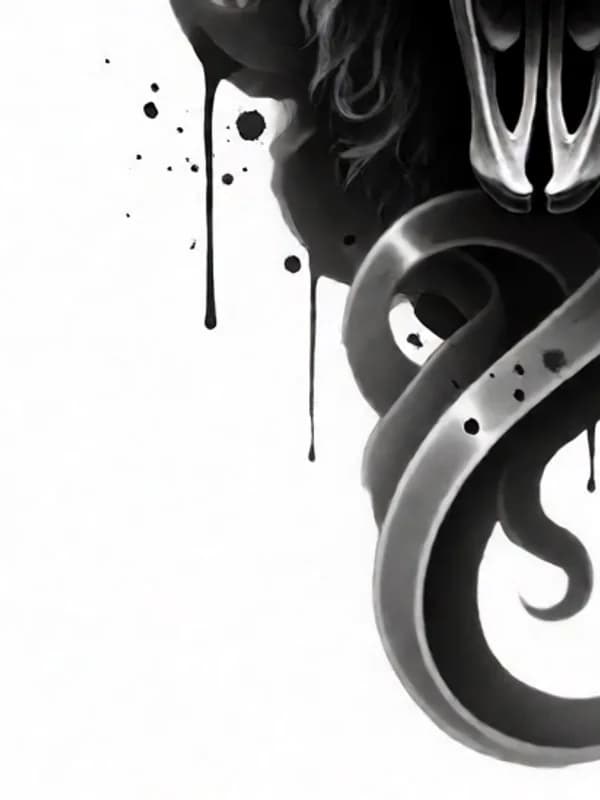
Kept as outline
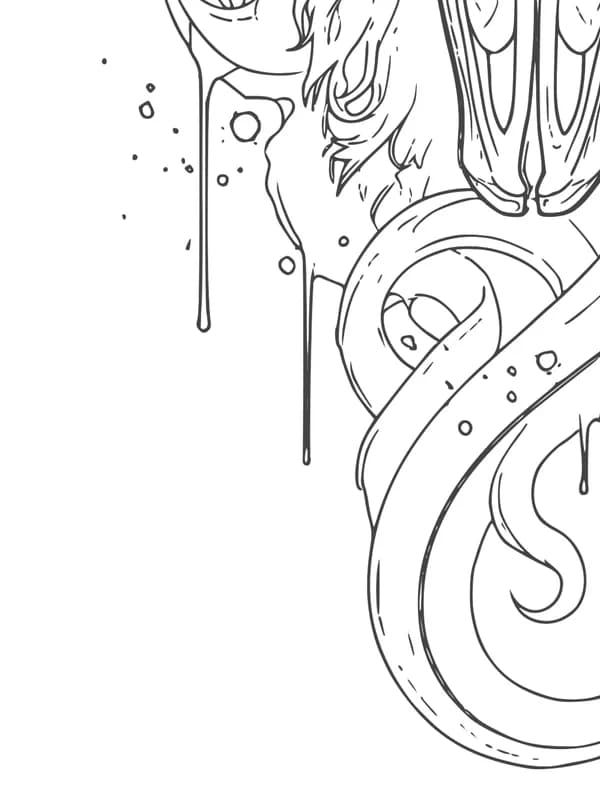
Smoke and drips become outline
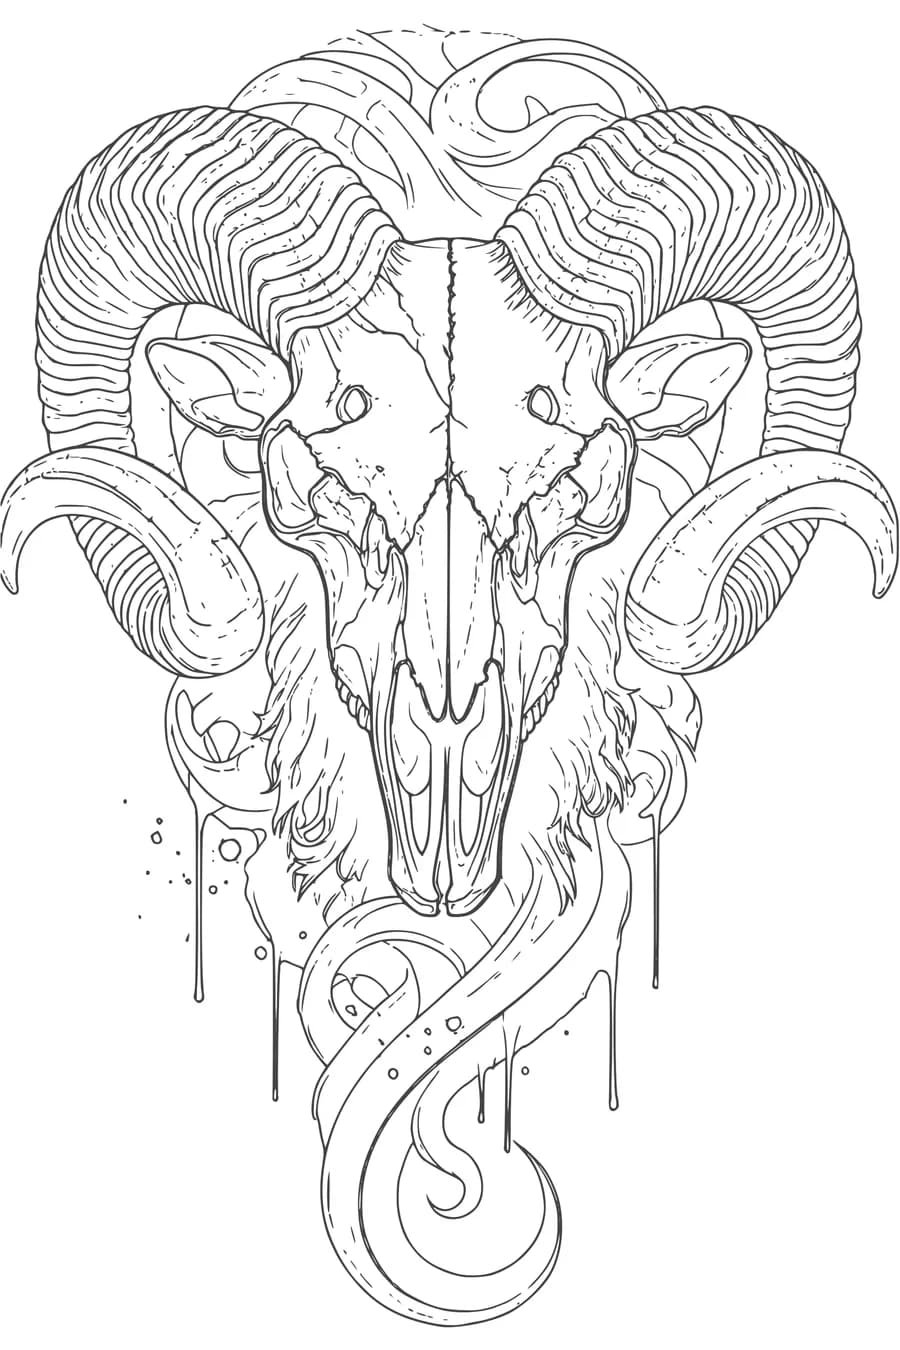
Smoke, drips, splatter: the extractor draws the edge of every wisp and every drop. Sometimes that is exactly what you want, sometimes it is too much line. Rule of thumb: keep the big shapes, skip the small ones at the machine.
Same rule for photos: the extractor traces what the eye reads as an edge. A clean, well-lit photo has few edges and gives a clean stencil. A busy one gives busy line.
Before you upload
The input decides the output
Three habits that turn an average stencil into a clean one — all of them happen before you press the button.
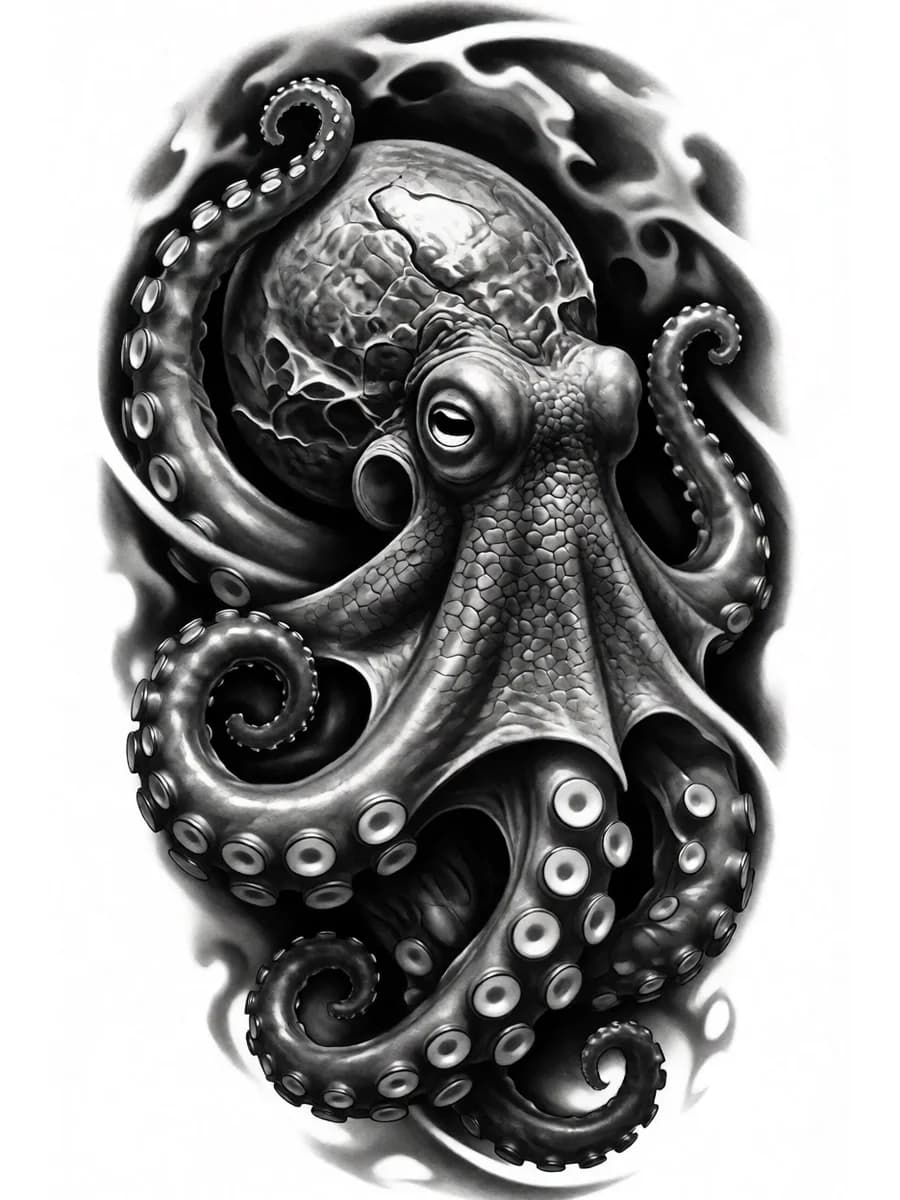
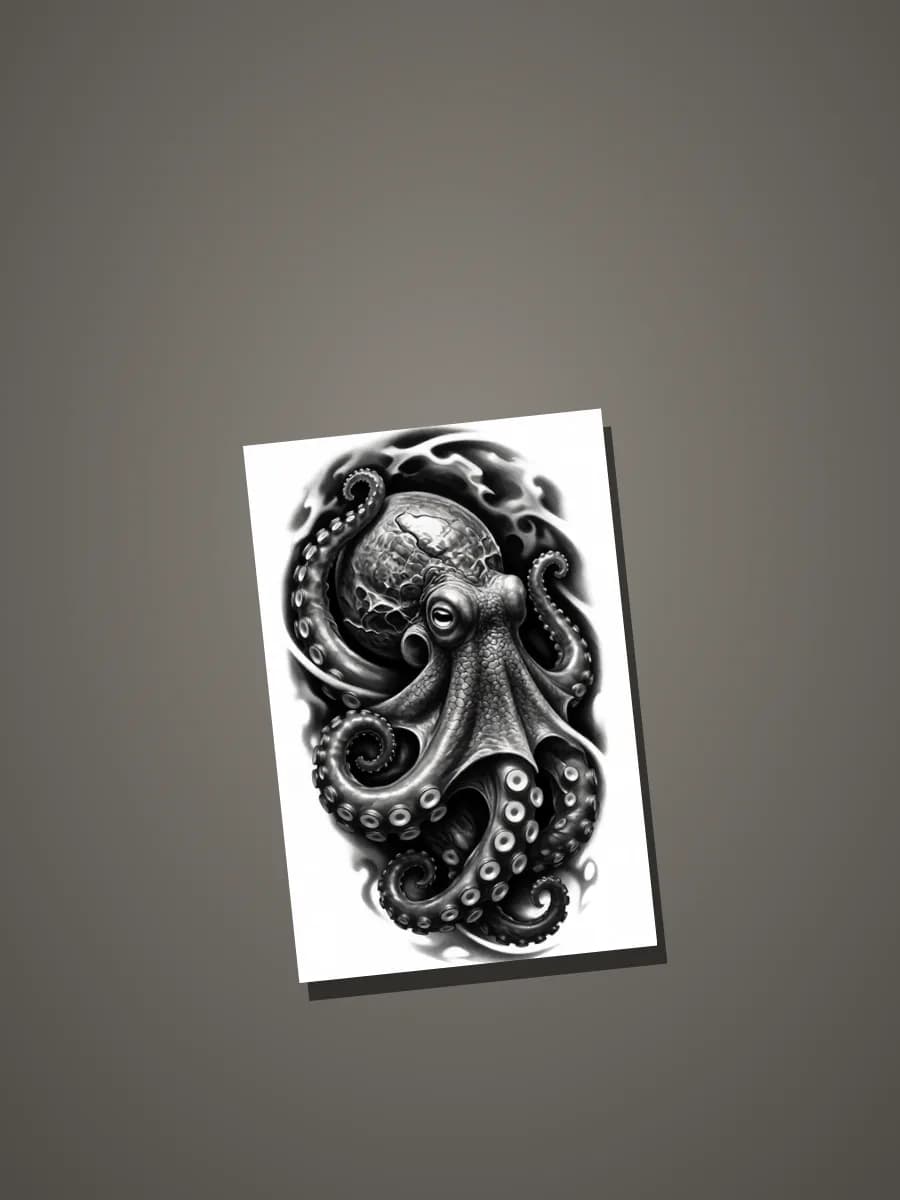
Vertical, filling the frame
Crop before you upload so the subject uses most of the image. The extractor works at a fixed size — a small subject in a wide frame comes out as thin, broken line.
Contrast on, background off
Strong light on the subject, a plain wall behind it. Every object in the background is an edge the extractor will draw.
Pro for detail, Default for speed
Default is fast and clean for most designs. Pro reads finer detail — fur, ornament, small lettering — and is the mode behind every pair on this page.
The framing tip in the app is not decoration: a vertical, tattoo-ready crop is what the model was tuned on.
Play with it
Ink and line, live
The same controls you have in the app: line colour to match your stencil paper, line width for how the printer and the skin will take it. Move them and watch.
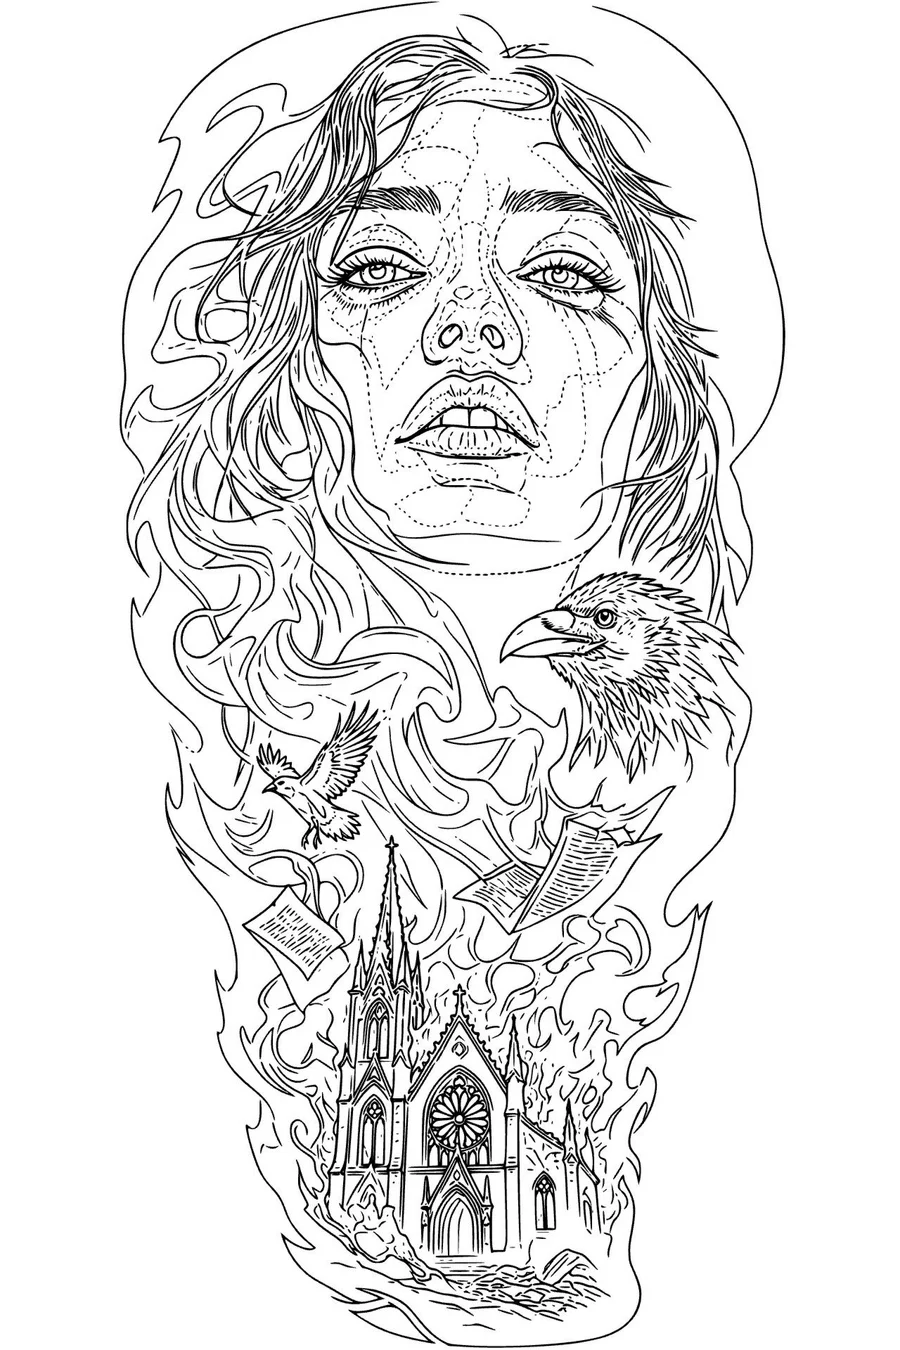
Line colour
Match the colour to your stencil paper so what you see on screen is what you will see on the skin. Black is the neutral for printing.
Line width
Thicker prints darker on thermal paper and survives a wipe better; thinner keeps fine detail. Start in the middle and print a test strip.
Print to skin
A real client, start to finish
The same calf piece from the generator guide, now from the stencil side: the print, the transfer and what it looked like healed.
 The design
1Print at real size
Measure the placement on the body, set the print size to match, and print on stencil paper. PNG with a transparent background prints cleanest; use JPG if your printer software wants a white page.
 The print
2Transfer
Clean, shave, apply the transfer solution, and lay the stencil in one movement. Let it set before you touch it.

3Tattoo it
The line on the skin is the extractor's line. Everything the extractor dropped — tone, smoke, soft shading — is yours to add freehand.
Same booking as in the generator guide: father and daughter, matching shirts, palms. Nothing staged.
Start one step earlier
Designs that stencil well
If the design comes from the generator, the stencil is decided at prompt time — the right words in, a clean line out.
Every design in this guide came out of the generator and went straight into the extractor, nothing retouched in between. Two of them again, from two different styles, then the words that help and the words that hurt:
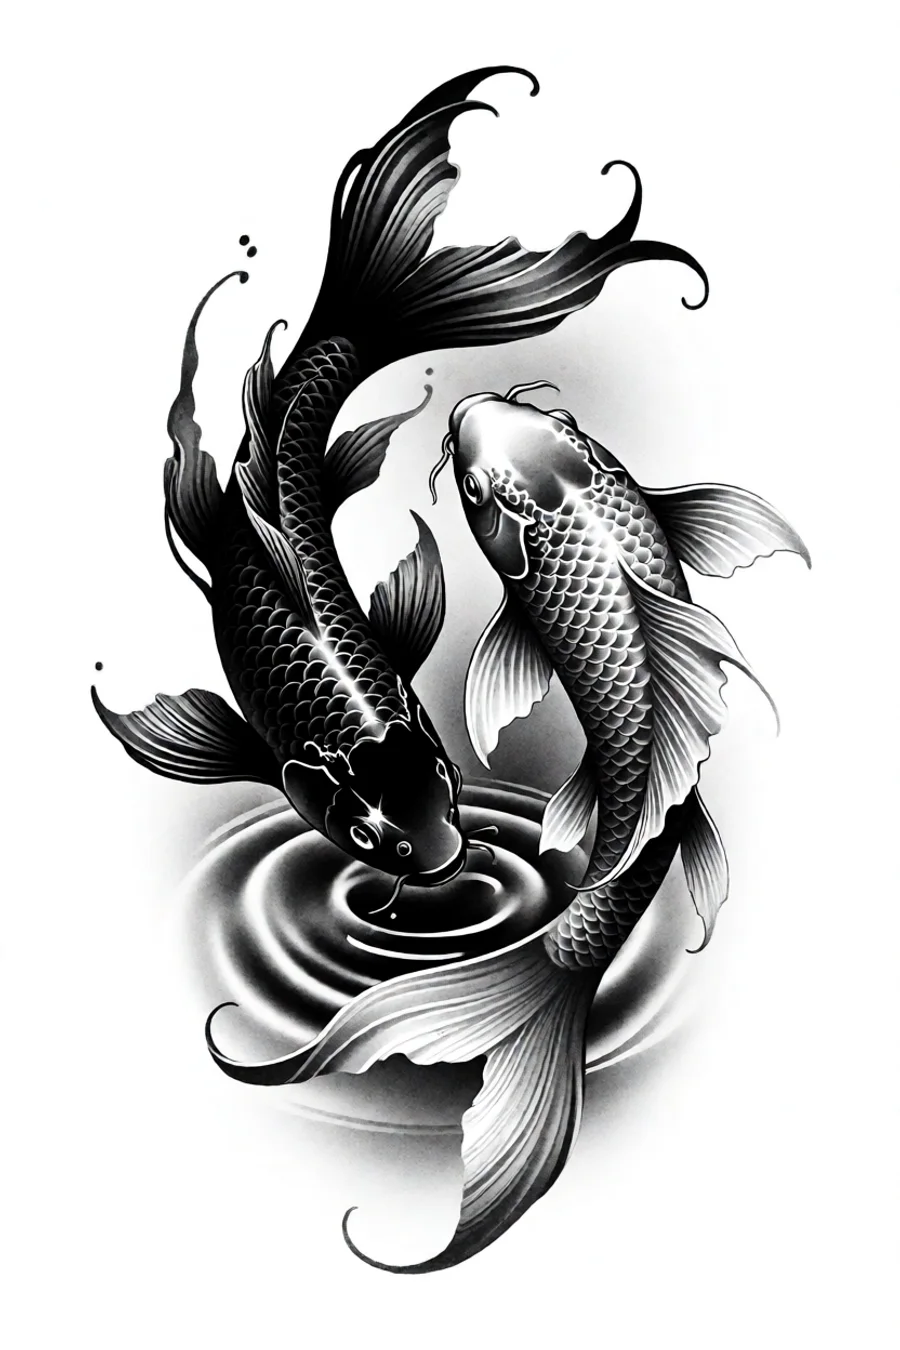
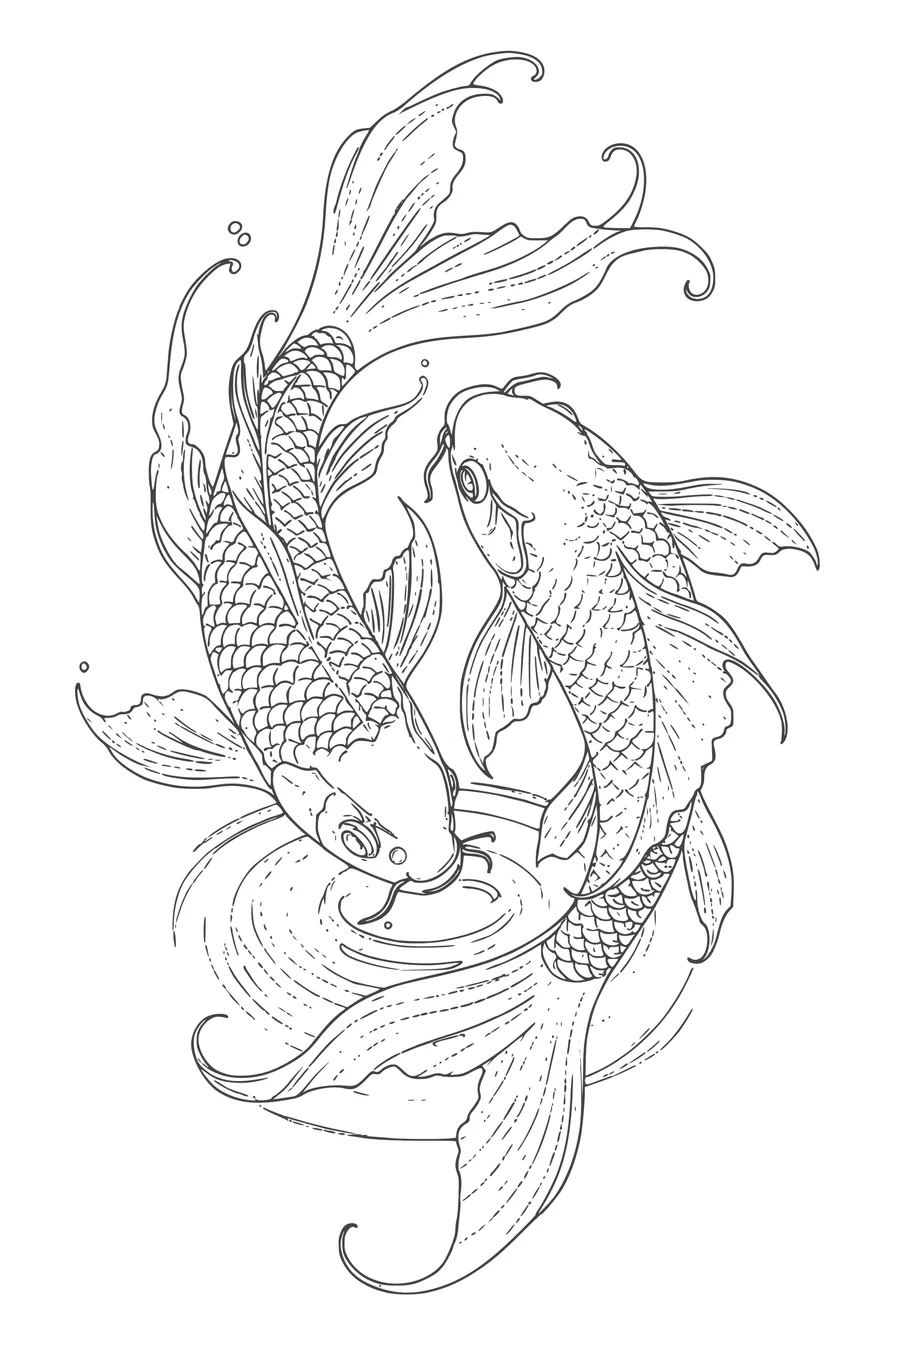
StenGen Basic
The black & grey default — no outlines in the design at all, yet every scale and fin comes back as a line: where white meets black, the extractor reads an edge.
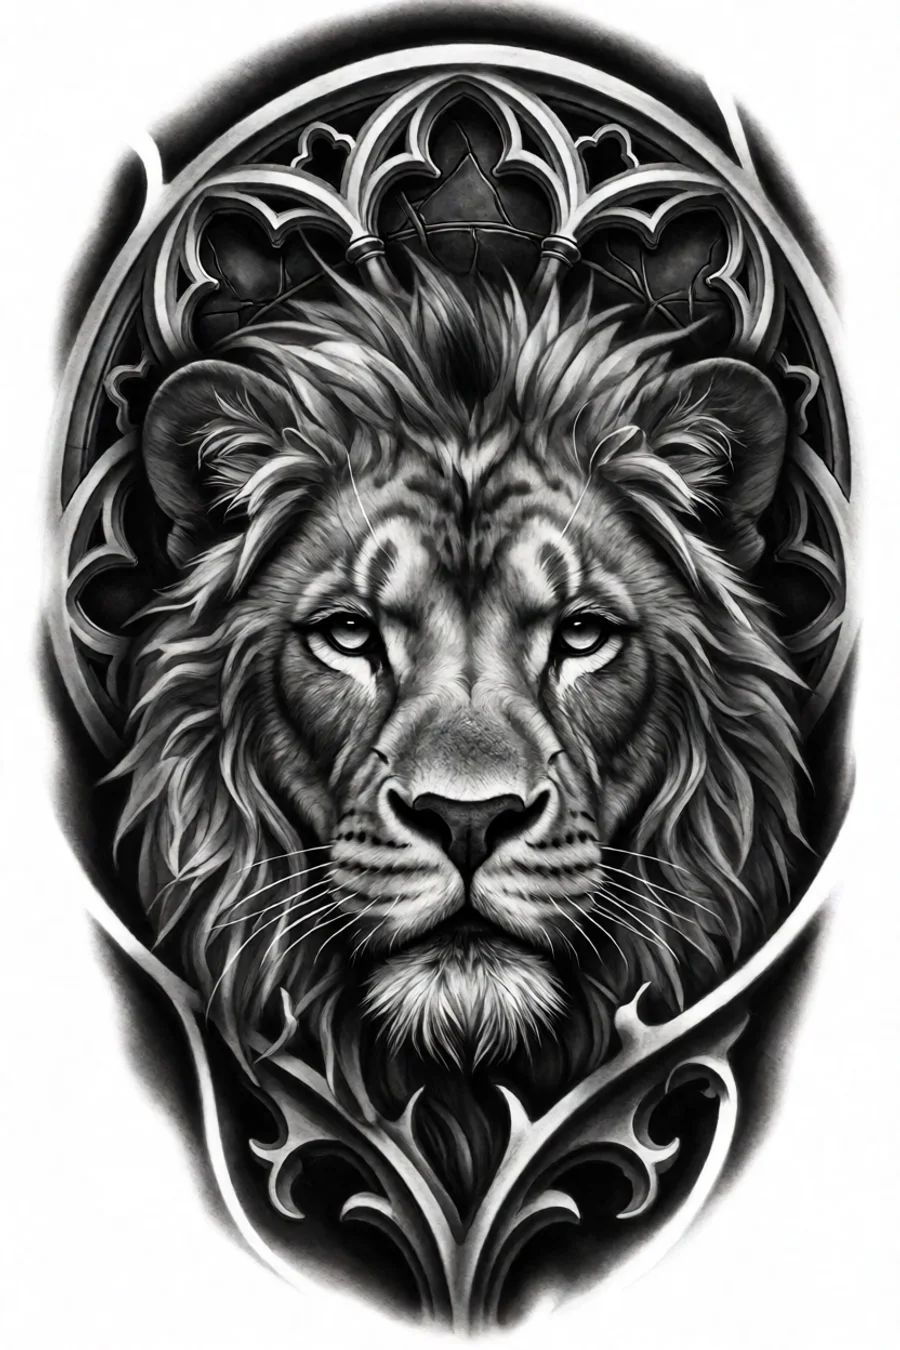
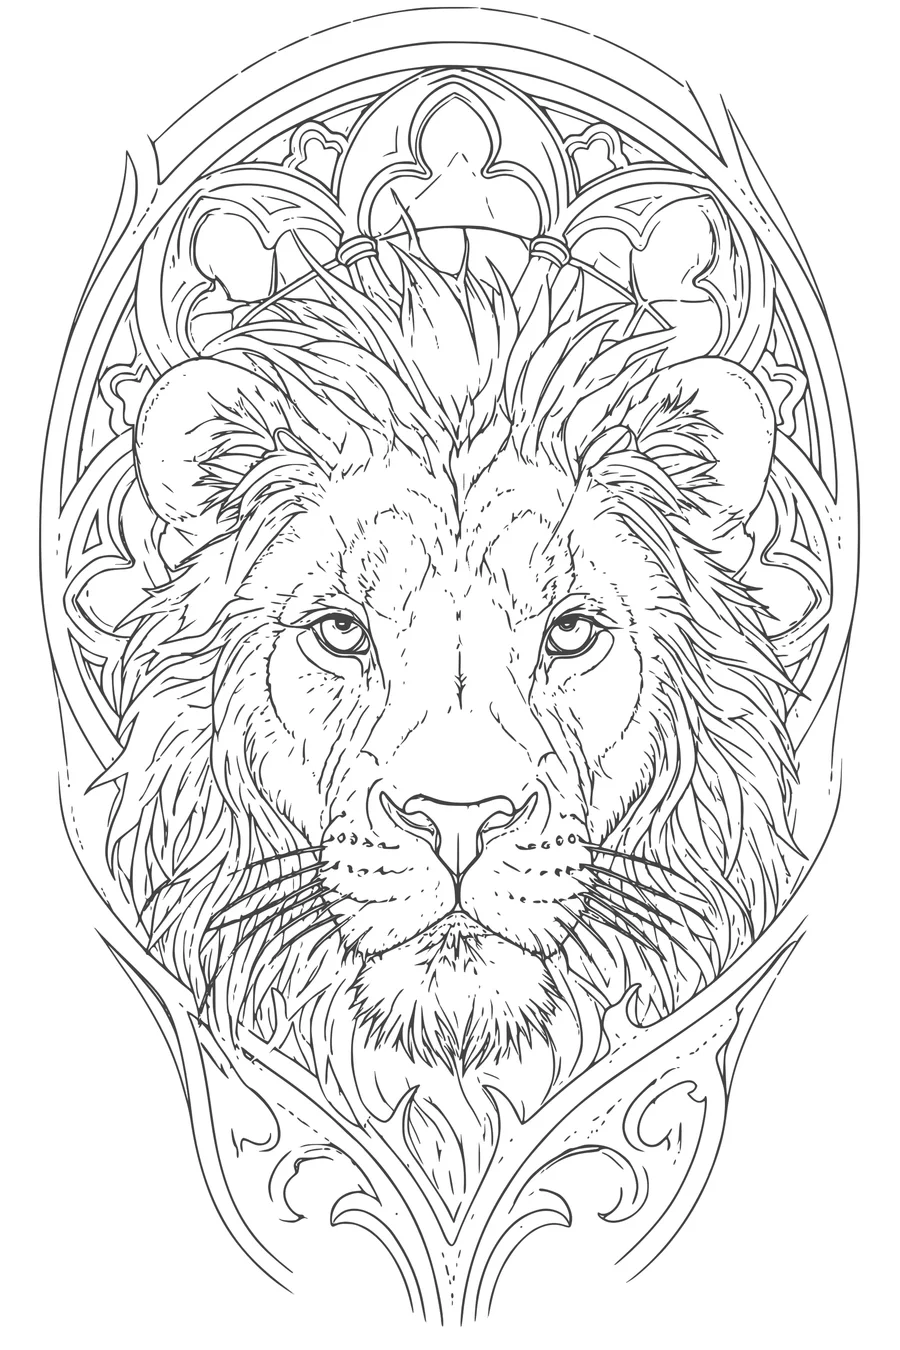
Realism
Full realism — fur, tracery, deep shadow. Still a complete stencil: wherever the light turns, there is an edge. What is missing is exactly the part you shade.
Words that help
clean lineworkhigh contrastwhite background
An edge at every point, nothing for the extractor to guess. One pass, no cleanup.
Words that hurt
airbrushed gradientswatercolor washsmoky background
Tone without an edge has nothing to trace, and smoke everywhere gives you line everywhere. Both mean cleanup before you print.
Your turn
One upload away
from a stencil.
Any design, any photo. Free credits on signup — the first stencil costs you nothing.